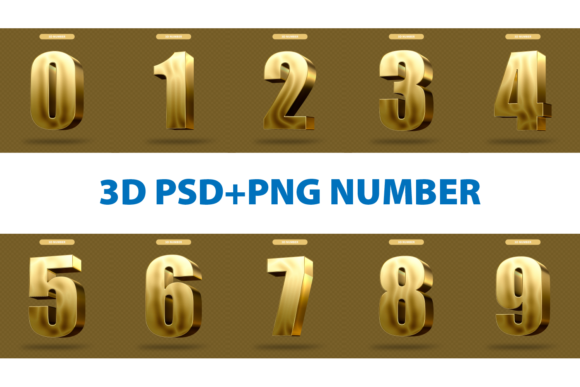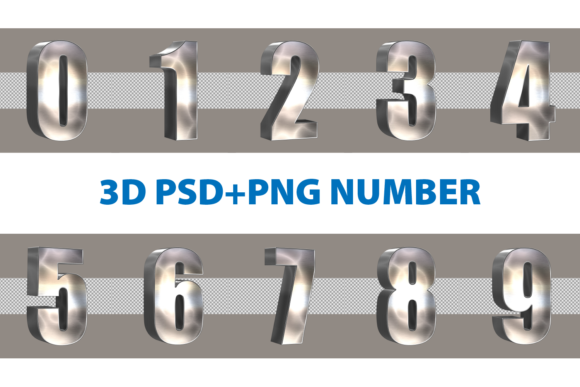
Realistic 3D Number Rendering: Clarity, Control, and Real-World Use
Realistic 3D number rendering isn’t just about making digits look shiny or “cool” — it’s about communicating value, precision, and credibility through visual form. Whether you’re designing a product demo, illustrating financial growth for a client pitch, animating data in an explainer video, or building interactive UI elements for a dashboard, how numbers appear in three dimensions affects perception, trust, and engagement. Unlike flat text or basic extrusions, realistic 3D number rendering involves thoughtful lighting, material response (like brushed metal, frosted glass, or matte plastic), depth-aware shadows, and context-sensitive scale. Done well, it adds authority. Done poorly, it distracts, confuses, or unintentionally undermines your message.
Assuming “Realistic” Means “Heavily Textured and Glossy”
Many beginners reach for ultra-reflective chrome or neon-lit numbers without considering context. A finance app showing quarterly revenue doesn’t need pulsing holographic digits — it needs clarity, legibility, and subtle visual weight. Overly complex materials can reduce readability at small sizes or on low-resolution screens. Worse, excessive gloss creates inconsistent highlights across devices, especially on mobile where ambient light shifts constantly.
A better approach? Start with intention: What emotion or information should this number convey? A medical device interface benefits from soft, neutral tones and gentle bevels — not metallic sheen. A gaming leaderboard might use bold geometry and controlled emissive edges, but only if those effects support scan speed and hierarchy. Test your render at actual usage size: zoom out to 50% in your design tool, then view it on a phone screen. If the digit “8” blurs into a single blob or the shadow reads as noise instead of depth, simplify.
Overlooking Lighting Consistency Across Scenes
Realistic 3D number rendering lives or dies by lighting. Yet many creators render numbers in isolation — one studio-light setup — then drop them into a scene lit from a completely different direction or color temperature. The result? A floating, disconnected element that breaks immersion. You’ll see this often in marketing banners where a glossy “2024” looks like it was pasted in rather than existing in the same space as the background.
Before finalizing, match your number’s lighting to the environment: note the primary light source angle, its softness/hardness, and whether ambient occlusion is present. In Blender or Cinema 4D, use HDRI environments instead of generic point lights. In After Effects with Element 3D or Red Giant Trapcode Suite, bake lighting passes from your scene’s camera perspective — don’t rely solely on default presets. Even subtle mismatches in shadow falloff or highlight placement erode realism faster than low polygon count ever could.
Ignoring Output Constraints Too Late
It’s common to spend hours refining a photorealistic “7” with subsurface scattering and micro-detail normal maps — only to discover it renders at 2 fps in a web-based WebGL viewer or fails to export cleanly to SVG or Lottie. Realistic 3D number rendering isn’t just about visual fidelity; it’s about functional compatibility. A beautiful render means little if it won’t load reliably on Shopify product pages, won’t animate smoothly in Figma prototypes, or can’t be exported with transparent backgrounds for social media overlays.
Check early: What’s your delivery format? For web, prioritize GPU-friendly geometry (under 10k polygons per digit), texture atlases instead of 4K individual maps, and baked lighting over real-time ray tracing. For print or high-res presentations, focus on clean topology and scalable vector exports (via OBJ-to-SVG workflows or dedicated tools like Vectary). And always preview in the target medium — not just your 3D viewport.
Mistaking Software Features for Skill
Some assume that using “pro” software — like Maya, Houdini, or Unreal Engine — guarantees realistic results. But realism comes from observation and iteration, not menu depth. A beginner in Blender who studies how light reflects off engraved aluminum will produce more convincing numbers than an experienced user applying default PBR materials without adjustment.
Practice this: Photograph real-world numbered objects — a digital clock, a car dashboard, a lab instrument — under varied lighting. Note where highlights fall, how edges catch light, how wear affects surface response. Then replicate just *one* detail — say, the slight dulling at the top edge of a molded plastic “3”. That focused study builds intuition far faster than cycling through 50 shader presets.
Skipping the “Why” Behind Material Choices
Materials aren’t decorative — they signal function and context. A number rendered as cracked concrete implies age or decay; brushed stainless suggests industrial reliability; translucent acrylic hints at modern tech or accessibility. Using marble for a fintech dashboard number may evoke luxury, but also fragility and impracticality — misaligning with user expectations of security and stability.
Ask yourself: Does this material reinforce the message or compete with it? When in doubt, lean toward restrained realism. A matte white ceramic finish with soft directional shadow communicates cleanliness and precision — ideal for healthcare or education visuals. Reserve high-contrast, dramatic materials for moments where emphasis is truly warranted, like a hero stat on a campaign landing page.
What to Check Before You Commit
- Legibility at scale: Render your number at its smallest intended display size — then step back three feet. Can you distinguish “6” from “8” instantly?
- Color contrast: Run it through a WCAG contrast checker against its background. Realism shouldn’t sacrifice accessibility.
- File weight & format support: Will your CMS, email platform, or presentation software handle the file type and size?
- Animation readiness: If it moves, does the geometry deform cleanly? Are textures resolution-independent?
- Licensing clarity: If using third-party 3D number assets, verify commercial use rights — especially for client work.
Realistic 3D number rendering gains strength when treated as visual communication first and technical exercise second. It’s not about chasing the most complex shader or highest polygon count. It’s about making numbers feel grounded, intentional, and trustworthy — so your audience focuses on the meaning behind the digit, not the shine on its surface. Start simple. Observe real references. Test early and often in context. And remember: the best 3D numbers don’t shout — they clarify.